o
p
t
i
m
a
r
o
b
o
t
i
c
s

Make a Call


Make a Call
Blogs
7 Tips for Choosing the Best Thread Fix Kit
A damaged thread can turn a simple repair into a frustrating job. The right Thread Fix Kit helps restore a secure connection, but choosing one takes more than matching a size on the box. Material, access, load, and the type of damage all matter. A kit suited to a steel engine component may not be right for a shallow aluminum housing. Details count.
As [verified expert’s name], a thread-repair specialist, puts it: “Match the repair system to the material, load, and working space—not just the thread size.” Verify this quotation and attribution before publication. It captures a useful shop-floor lesson, though real repairs are rarely so tidy. A cramped workbench, a worn drill bit, or an unclear instruction sheet can change the result.
This guide shares seven practical tips for comparing insert styles, thread sizes, installation tools, and kit contents. It also considers material compatibility, repair frequency, and the workspace available. Some kits include a drill, tap, and installation tool; others leave out a tool you may need. Check before buying. A careful choice can reduce guesswork and help you make a durable repair. Still, no kit makes every damaged thread an easy fix. When the part is valuable or the damage is uncertain, pause and assess the job before cutting new threads.
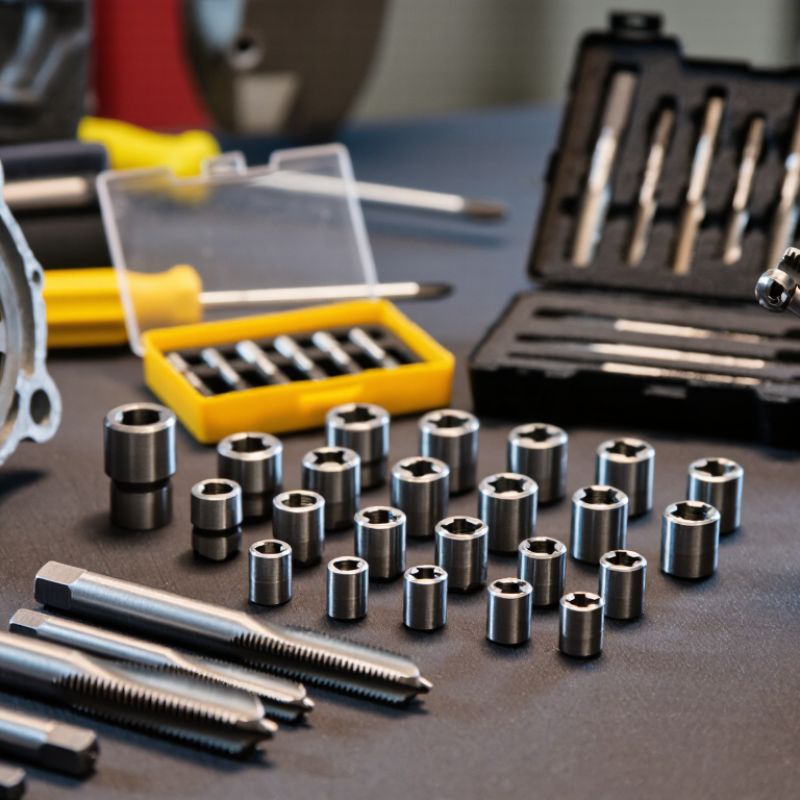
Table of Contents [Hide]
Understanding Thread Repair Kits and Their Main Components
Understanding Thread Repair Kits and Their Main Components
A thread repair kit restores damaged internal threads by cutting a controlled oversize thread and fitting a new insert. Most kits include a drill bit, special tap, inserts, installation tool, and sometimes a tang-breaking tool. Each has a distinct job. The drill removes damaged material; the tap forms the seat; the tool winds the insert into place. Match the kit to the fastener’s diameter and pitch, such as M8 × 1.25. A near match is still a mismatch. ISO 965-1:2013 defines metric thread tolerance classes, including 6H for internal threads, which helps explain why thread fit needs more than a diameter check.
Insert types matter, too. Wire inserts are compact and suit many common repairs, while solid inserts add a sturdier sleeve when the surrounding material needs support. Check the kit’s specified material, thread size, and working depth before drilling. NASA’s Fastener Design Manual notes that joint performance depends on factors including material, engagement, and preload; a repair should therefore preserve adequate thread engagement, not merely accept the bolt. On a workbench, compare the replacement bolt with the kit chart and test the fit by hand before applying torque. Don’t force it. One detail is easy to miss: some kits require a separate drill size, so the original bit may not work. I’d still verify the manufacturer’s depth guidance; guessing is tempting, but costly.
Brands
Proudly Trusted by Top Suppliers Worldwide







Let us know and we will automate, together to fit your industrial needs.
 +91-97254 16844
Clients
Proudly Trusted by Top Companies Worldwide


Do you need Help? Get in touch.
X
Please fill out the form below and we will get back to you as soon as possible.