o
p
t
i
m
a
r
o
b
o
t
i
c
s

Make a Call


Make a Call
Blogs
10 Tips for Buying Prehung Doors Online
Buying Prehung Doors online is no longer unusual. The U.S. Census Bureau reported that e-commerce represented 16.1% of total retail sales in 2024. That shift gives homeowners wider access to sizes, finishes, and manufacturer specifications. It also creates new risks. A product photo cannot reveal a warped jamb, damaged threshold, or incorrect swing direction.
Industry guidance supports careful verification. The Window and Door Manufacturers Association (WDMA) emphasizes performance, installation quality, and product labeling. The National Association of Home Builders also highlights accurate openings and proper installation as essential to durable residential construction. These principles matter online. A small measurement error can turn a well-priced door into an expensive return.
Measure twice. Photograph the opening. Confirm the rough opening, jamb depth, handing, bore location, threshold type, and wall thickness. Check whether the unit includes hinges, casing, weatherstripping, and a lock bore. Exterior models may require specific water-resistance ratings. Fire-rated doors need certified labels and compatible hardware, not attractive marketing language. Delivery deserves equal attention. Inspect the carton before signing, then document dents or crushed corners immediately.
This guide presents ten practical tips for buying Prehung Doors online with greater confidence. It focuses on specifications, seller credibility, shipping protection, and installation readiness. Some advice may seem obvious. It is still easy to overlook. Even experienced renovators can trust a familiar size and order the wrong handing. Careful decisions begin before checkout, not after the door arrives.
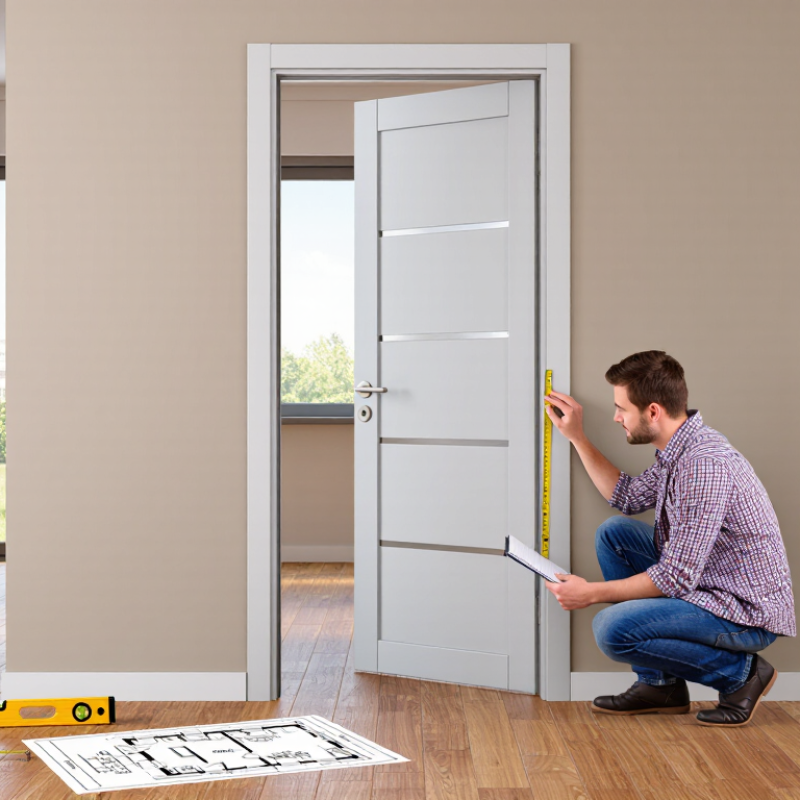
Table of Contents [Hide]
Define Prehung Door Types, Materials, and Configurations
Buying a prehung door online starts with identifying the door type, not choosing a finish. A prehung unit includes the slab, frame, hinges, and often pre-installed casing. Interior units usually use lighter construction and smaller jambs. Exterior units need weather resistance, tighter seals, and stronger hardware. Choose a single door for narrow openings. A double-door configuration creates a wider passage but requires more clearance. French doors may have one active leaf and one inactive leaf. That detail matters.
Material affects weight, maintenance, insulation, and price. Solid wood offers natural grain and repairable surfaces, but it can swell with moisture. Engineered wood is more stable, although its edges still need protection. Steel provides security and a firm feel. Fiberglass resists dents and weather, yet lower-quality panels can look less convincing. For a humid entry, I prefer a sealed surface and a composite or fiberglass frame. That is practical, not universal. Check the threshold, sill, and weatherstripping details in the listing.
Configuration errors cause many online returns. Measure the rough opening at the top, middle, and bottom. Record width, height, wall thickness, and swing direction. Stand outside the room and note where the hinges sit and which way the door moves. A left-hand label can vary by seller. Confirm the seller’s diagram before ordering. I once trusted a familiar measurement and overlooked the jamb depth. The door fit, but the trim did not. That small mistake changed the installation plan. Leave room for imperfect walls. A qualified installer can verify the opening before purchase.
Brands
Proudly Trusted by Top Suppliers Worldwide







Let us know and we will automate, together to fit your industrial needs.
 +91-97254 16844
Clients
Proudly Trusted by Top Companies Worldwide


Do you need Help? Get in touch.
X
Please fill out the form below and we will get back to you as soon as possible.