o
p
t
i
m
a
r
o
b
o
t
i
c
s

Make a Call


Make a Call
Blogs
Why Is My Quick Connect Fitting Leaking?
A leaking Fitting Quick Connect can seem like a minor workshop annoyance. In reality, it may signal incorrect assembly, seal damage, contamination, or excessive system pressure. The first visible clue is often a thin fluid ring around the coupling. Air systems may show hissing, while hydraulic systems can leave a warm, slippery film near the connection.
The U.S. Department of Energy’s Improving Compressed Air System Performance sourcebook reports that leaks can waste 20% to 30% of compressor output. That loss increases operating costs and reduces available pressure at critical tools. The report also recommends ultrasonic detection, regular inspections, and documented repairs. These practices apply beyond factories. They also help technicians evaluate quick-connect assemblies in workshops, mobile equipment, and process lines.
Pressure is not always the main culprit. A fitting may leak because the tube is not fully inserted, the release sleeve is damaged, or the O-ring was cut during installation. ISO 4413 and ISO 4414 emphasize proper assembly, cleanliness, pressure control, and inspection for fluid-power connections. Still, standards cannot replace careful observation. One overlooked detail matters: the fitting may seal during a cold start, then leak after vibration and heat change its geometry. That possibility deserves attention. This guide examines why your Quick Connect Fitting leaks, how to identify the failure pattern, and when replacement is safer than repeated tightening. Small defects can become expensive failures. Do not ignore the first drop.
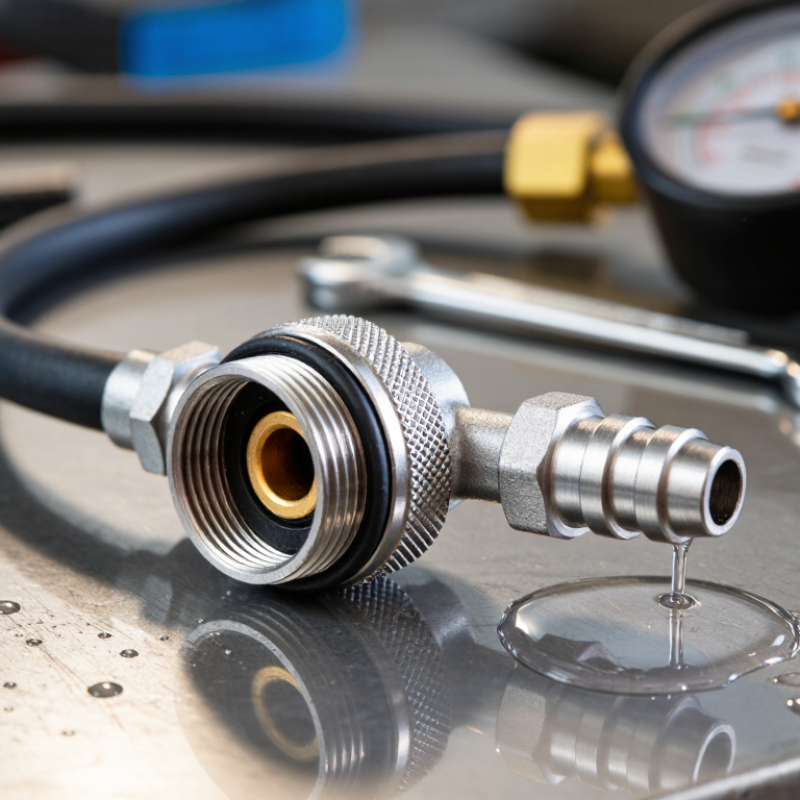
Table of Contents [Hide]
Identify Leak Paths: O-Rings, Valves, Threads, and Hose Connections
Why Is My Quick Connect Fitting Leaking?
A leaking quick connect fitting usually has one of four paths: the O-ring, valve, threads, or hose connection. Start with a depressurized system and wipe the fitting dry. A fresh wet ring often reveals the source better than guesswork. A damaged O-ring may look acceptable, yet feel flattened, brittle, or nicked. Replace it with the correct size and compatible material. Do not rely on extra tightening. It can distort the seal.
The internal valve can leak when dirt, corrosion, or a weak spring prevents full closure. Disconnect the fitting and inspect the sealing face under good light. Thread leaks require a closer look. Cross-threading, cracked ports, or unsuitable sealant can create a spiral leak path. Hose connections deserve equal attention. Check for a skewed tube, an incomplete insertion, a loose clamp, or a hose cut at an angle. The first suspect is not always the guilty part.
Tips: Apply approved leak-detection fluid after repressurizing safely. Never use your fingers to find escaping fluid. The U.S. Department of Energy reports that compressed-air leaks may waste 20–30% of compressor output. That figure makes small leaks worth investigating. Still, a bubble test can mislead around oily surfaces. Clean the area, test again, and record the fitting condition. A torque check helps, but damaged threads still need replacement. A careful inspection sometimes exposes an installation mistake nobody expected.
Brands
Proudly Trusted by Top Suppliers Worldwide







Let us know and we will automate, together to fit your industrial needs.
 +91-97254 16844
Clients
Proudly Trusted by Top Companies Worldwide


Do you need Help? Get in touch.
X
Please fill out the form below and we will get back to you as soon as possible.