o
p
t
i
m
a
r
o
b
o
t
i
c
s

Make a Call


Make a Call
Blogs
Why Use Wedge Anchors for Concrete Applications?
When a steel bracket must stay firmly against concrete, the connection method matters. Wedge Anchors provide a direct, dependable solution for many structural and commercial applications. They are installed through a drilled hole, then tightened with a nut and washer. As the anchor tightens, its expansion clip presses against the concrete wall. This creates strong friction and holding power.
Their performance depends on more than anchor strength. Hole diameter, drilling depth, concrete condition, edge distance, and installation torque all influence the result. Dust left inside a 16-millimeter hole can reduce contact. A cracked slab may require a different anchoring strategy. Small details matter. Experienced installers clean the hole carefully, check embedment depth, and use a calibrated torque wrench when specifications require it.
Wedge Anchors work especially well for equipment bases, handrails, steel frames, and support brackets. They offer consistent installation and immediate fastening, which can save time on busy construction sites. However, they are not a universal answer. Lightweight concrete, damaged concrete, shallow edges, or repeated vibration may change the design decision. Project engineers should review load requirements, anchor spacing, concrete strength, and applicable building standards before approval. Manufacturer data should guide selection and installation, not habit alone.
A reliable installation also includes inspection. The anchor should sit squarely, the washer should remain properly seated, and the nut should receive the specified torque. Even experienced crews can miss one step under pressure. Careful verification protects the connection and exposes weak assumptions before they become expensive repairs.
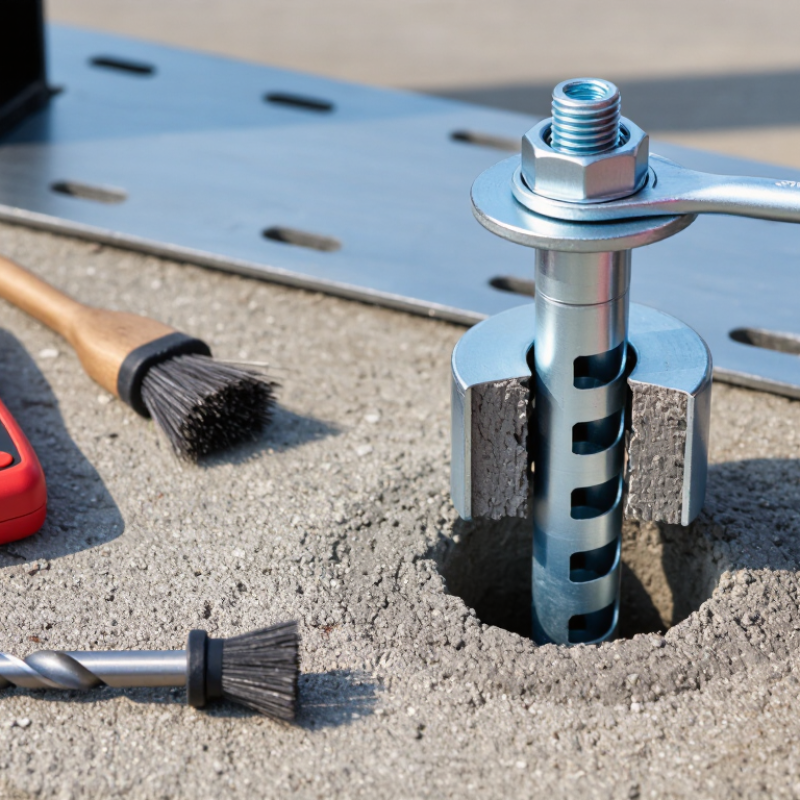
Table of Contents [Hide]
What Wedge Anchors Are and How They Work
What Wedge Anchors Are and How They Work
A wedge anchor is a mechanical fastener designed for solid concrete. It usually contains a threaded stud, nut, washer, and expansion clip. The installer drills a hole slightly deeper than the required embedment. After cleaning the hole, the anchor is inserted and tapped into place. Tightening the nut pulls the stud upward. This action forces the clip against the concrete wall, creating strong friction and mechanical interlock. The connection becomes tighter as the load increases, within its rated limits.
Wedge anchors work best when installation matches the technical requirements. Hole diameter, embedment depth, edge distance, concrete strength, and tightening torque all matter. A dusty hole can reduce holding power. A shallow hole may leave the anchor vulnerable to pullout. Field crews often focus on speed, but rushing this step creates avoidable problems. Concrete may also be cracked, weathered, or weaker than expected. That uncertainty deserves attention. Select an anchor with suitable material and corrosion resistance for indoor, outdoor, or damp locations. Always check current engineering data and installation instructions.
Tips: Use the correct drill bit and remove dust with brushing and air cleaning. Mark the required depth before drilling. Keep the anchor away from concrete edges unless approved spacing is available. Tighten with a calibrated torque wrench when the specification requires it. If the anchor spins during tightening, stop and inspect the hole, because the connection may not be reliable.
Brands
Proudly Trusted by Top Suppliers Worldwide







Let us know and we will automate, together to fit your industrial needs.
 +91-97254 16844
Clients
Proudly Trusted by Top Companies Worldwide


Do you need Help? Get in touch.
X
Please fill out the form below and we will get back to you as soon as possible.